
Christmas Tree Canvas
We got out Christmas tree yesterday and I am so excited to start decorating for Christmas! This week, I'm continuing my '5 Weeks of Christmas' series to show you how to make this adorable wall hanging on a canvas.


You will need a canvas, fabric of your choice, Embellish® Heat Transfer Foil, Embellish® Vinyl Weeding Tool, RNK Stitch Perfection Tape, a staple gun, and an iron.
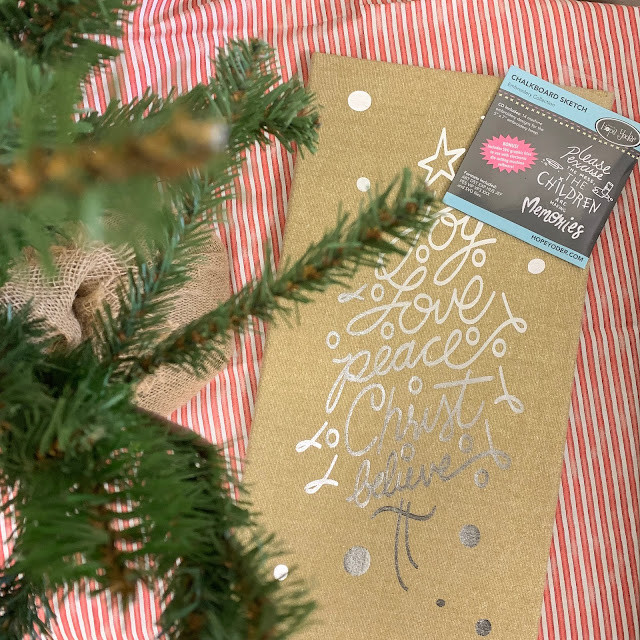
To start, I'm going to be cutting out this Christmas tree word art from Hope Yoder's Chalkboard Sketch Embellish's Embroidery Collection CD. I'm cutting it out on my ScanNCut with Heat Transfer Foil in the color silver. Once your foil is cut out, weed away the excess foil with the Vinyl Weeding Tool. This part is so fun and satisfying! Check out my video below if you want to see me weed this design from start to finish.

Grab your fabric and find the center where you want to put your foil. I'm using the Embellish® T Shirt Heat Transfer Vinyl Centering Ruler to help find the center of my fabric. Once you have found the center, go ahead and iron on top of the clear carrier sheet. Peel away the clear carrier sheet once it has cooled down to reveal the foil.

We're going to take the canvas and place the fabric with our foil over top of it. Find the center of your fabric and secure with RNK Stitch Perfection Tape. I taped the inside of the canvas to attach my fabric before I stapled it just so my fabric wouldn't shift.


As soon as it's taped down, you can begin stapling. Watch my video to see the technique I use on securing and stapling the corners. Once you are done, you have an adorable canvas wall art piece!


Comments