This is one of my favorite things I have ever made!! I recently became a cat person - cats are so cool! I don't know why I'm just discovering this now. My sister recently got this sweet little kitty named Snickers, and I decided to make her some toys this week.
our sweet kitty Snickers
Mandala Tango Fabric Collection by Hope Yoder from Blank Quilting
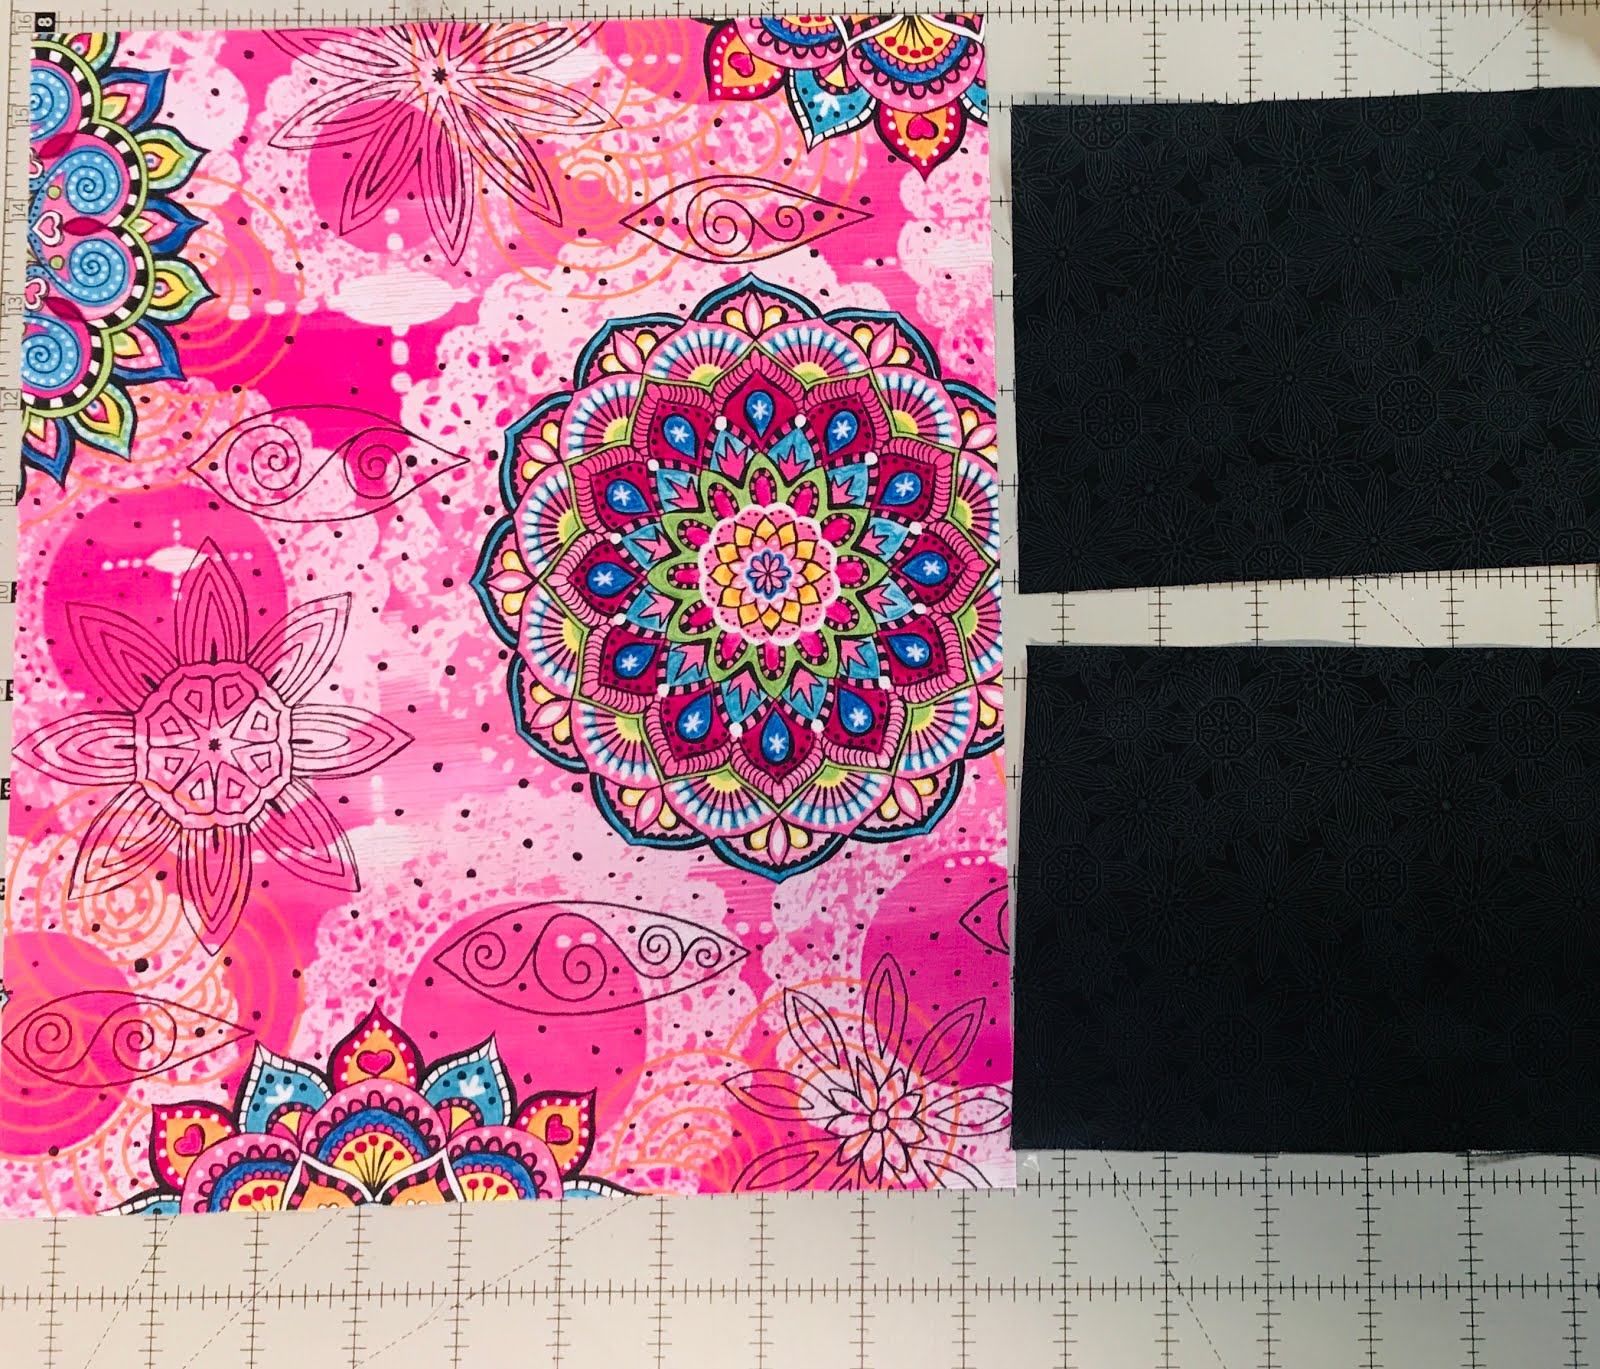
For this project, we are going to need one 13" x 12" piece and two 6" x 5.5" pieces of your fabric of choice. Fuse Embellish® Fusible Underlay Bold on the two 6" x 5.5" pieces. The Fusible Underlay Bold strengthens the fabric and adds fiber content. With the fusible bold underlay, the toy will withstand her claws and teeth. Cut a small strip of Embellish® Foolproof Repositionable Webbing for one of the strips. This will be used to create a permanent seal later after we have stuffed the toy. Here's a tip! Iron your fabric and get it warm before fusing the Foolproof Repositionable Webbing. This will enable the fabric to bond better webbing. Once that is fused, you're going to want to score the release paper on the back of the webbing to remove it.
*If you are choosing to cut your pieces with a digital cutter you would leave the release paper on and place the paper side on the digital cutting mat.*
Embellish® Foolproof Repositionable Webbing
Hoop Embellish® Soft Cutaway
Hoop Embellish® Soft Cutaway tightly and place the hoop on your machine. After pulling up the design, you're ready to start embroidering! This is the fun part for me. I love watching the machine work! Stitch the outline first, then center the 12 x 13" piece of fabric over the outline and place Embellish® Rinse-Away Clear Topper over the fabric. Begin embroidering again. The topper creates a space between the fabric and thread and keeps the thread elevated above the cotton fabric and prevents it from sinking in. The fabric will look richer when you use the Rinse Away Clear Topper. You'll want to hold down the fabric and topper for the first few stitches with your hand so they don't shift - just be careful to keep your hands out of the way of the needle! You can also tape the topper and fabric on the hoop with RNK Embroidery Perfection Tape.
Koala design from the Zoo Babies CD is too cute!
Once your design is finished embroidering, you're going to lay the two remaining 5.5" x 6 " pieces of fabric right sides down on the lion. The overlap of the two fabrics will create a pocket so you will be able to stuff the toy. The Foolproof Repositionable Webbing that we fused on one of the pieces will seal the flap we're done stuffing it. I love using this because it means you don't have to hand-sew the gap closed once you're done. Ain't nobody got time for that!
Remove the finished design from the hoop and start trimming. Leave about a 1/4" of a seam allowance around the design. Use the Embellish® Vinyl Weeding Tool to remove the rinse-away topper. For those tricky little spots, you can soak a cloth in water and dab away to remove the topper. Start stuffing your toy and don't forget to put in catnip if you're making this for a cat! If you're making it for a baby, you can add a squeaker or rattle. Once you have stuffed it, make sure to press the fused webbing with your iron to seal or hand sew.
Snickers loves her new toy! I had a lot of fun making this in-the-hoop toy for her! It's even more fun to watch her play with it knowing that I made something from start to finish for out cute little kitty. I also made another sample of the Rhino zoo baby using RNK®'s new Cork fabric! I love how this one turned out. The cork is durable and will ensure that Snickers doesn't chew through the material, and I love the look of it!
If you want to watch me make this toy click the link below!


Comments